


TESTO TRADOTTO IN ITALIANO A BREVE
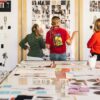
The visual part of the blog is maybe the most important one. We are attracted from a blog or a single post when we see beautiful images. More than the title we decide if reading a post or not just looking at the first image ( I do this too) . That’s why having beautiful photos is essential.
How to take photos for your fashion blog
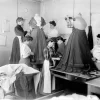
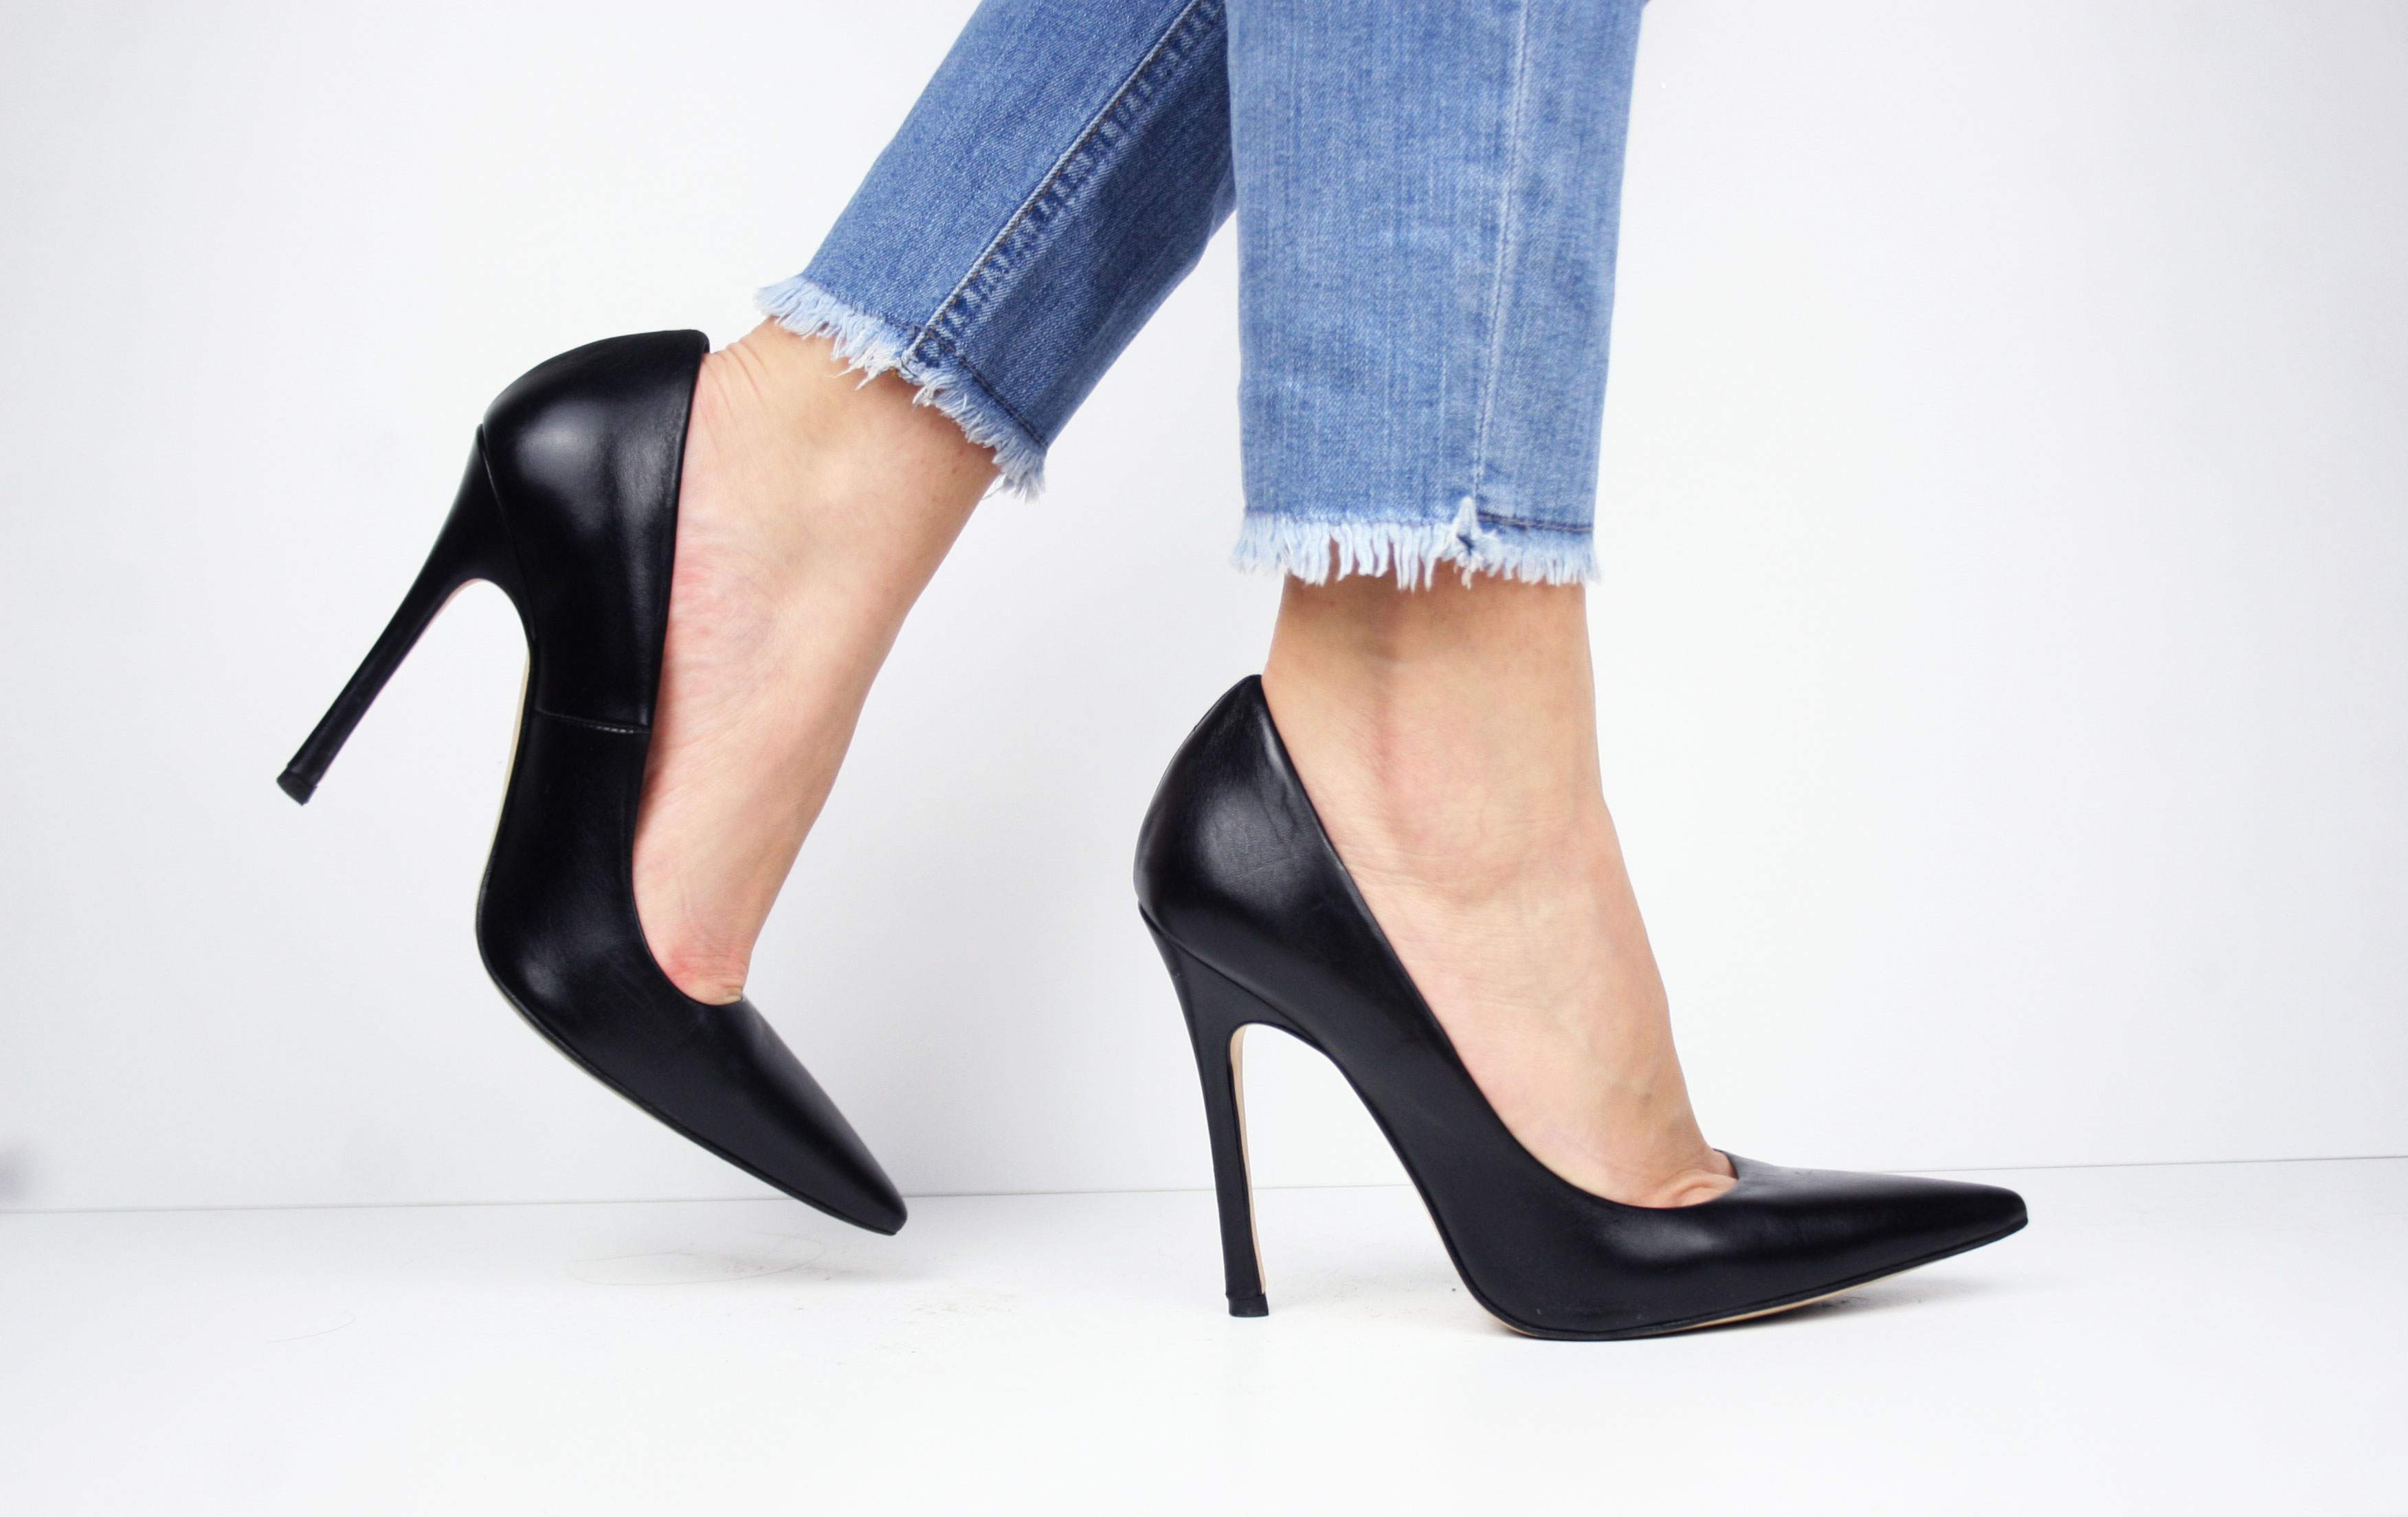
Light is everything – I’ve learned this lesson personally, the light is the most important factor to take beautiful photos, you can have the best outfit or create the best flatlay with perfect products but if the light is missing or it’s not good the photos will never look good. I suggest you to shoot with natural light during the morning but if you want to shoot indoor or there is no light anymore ( I took most of my flatlay photos at night when I came back home from work when the sun light has gone hours before) I do truly suggest you to buy two Softboxes to put one in front of the other to eliminate any shadow (one on the left and one on the right of your subject)
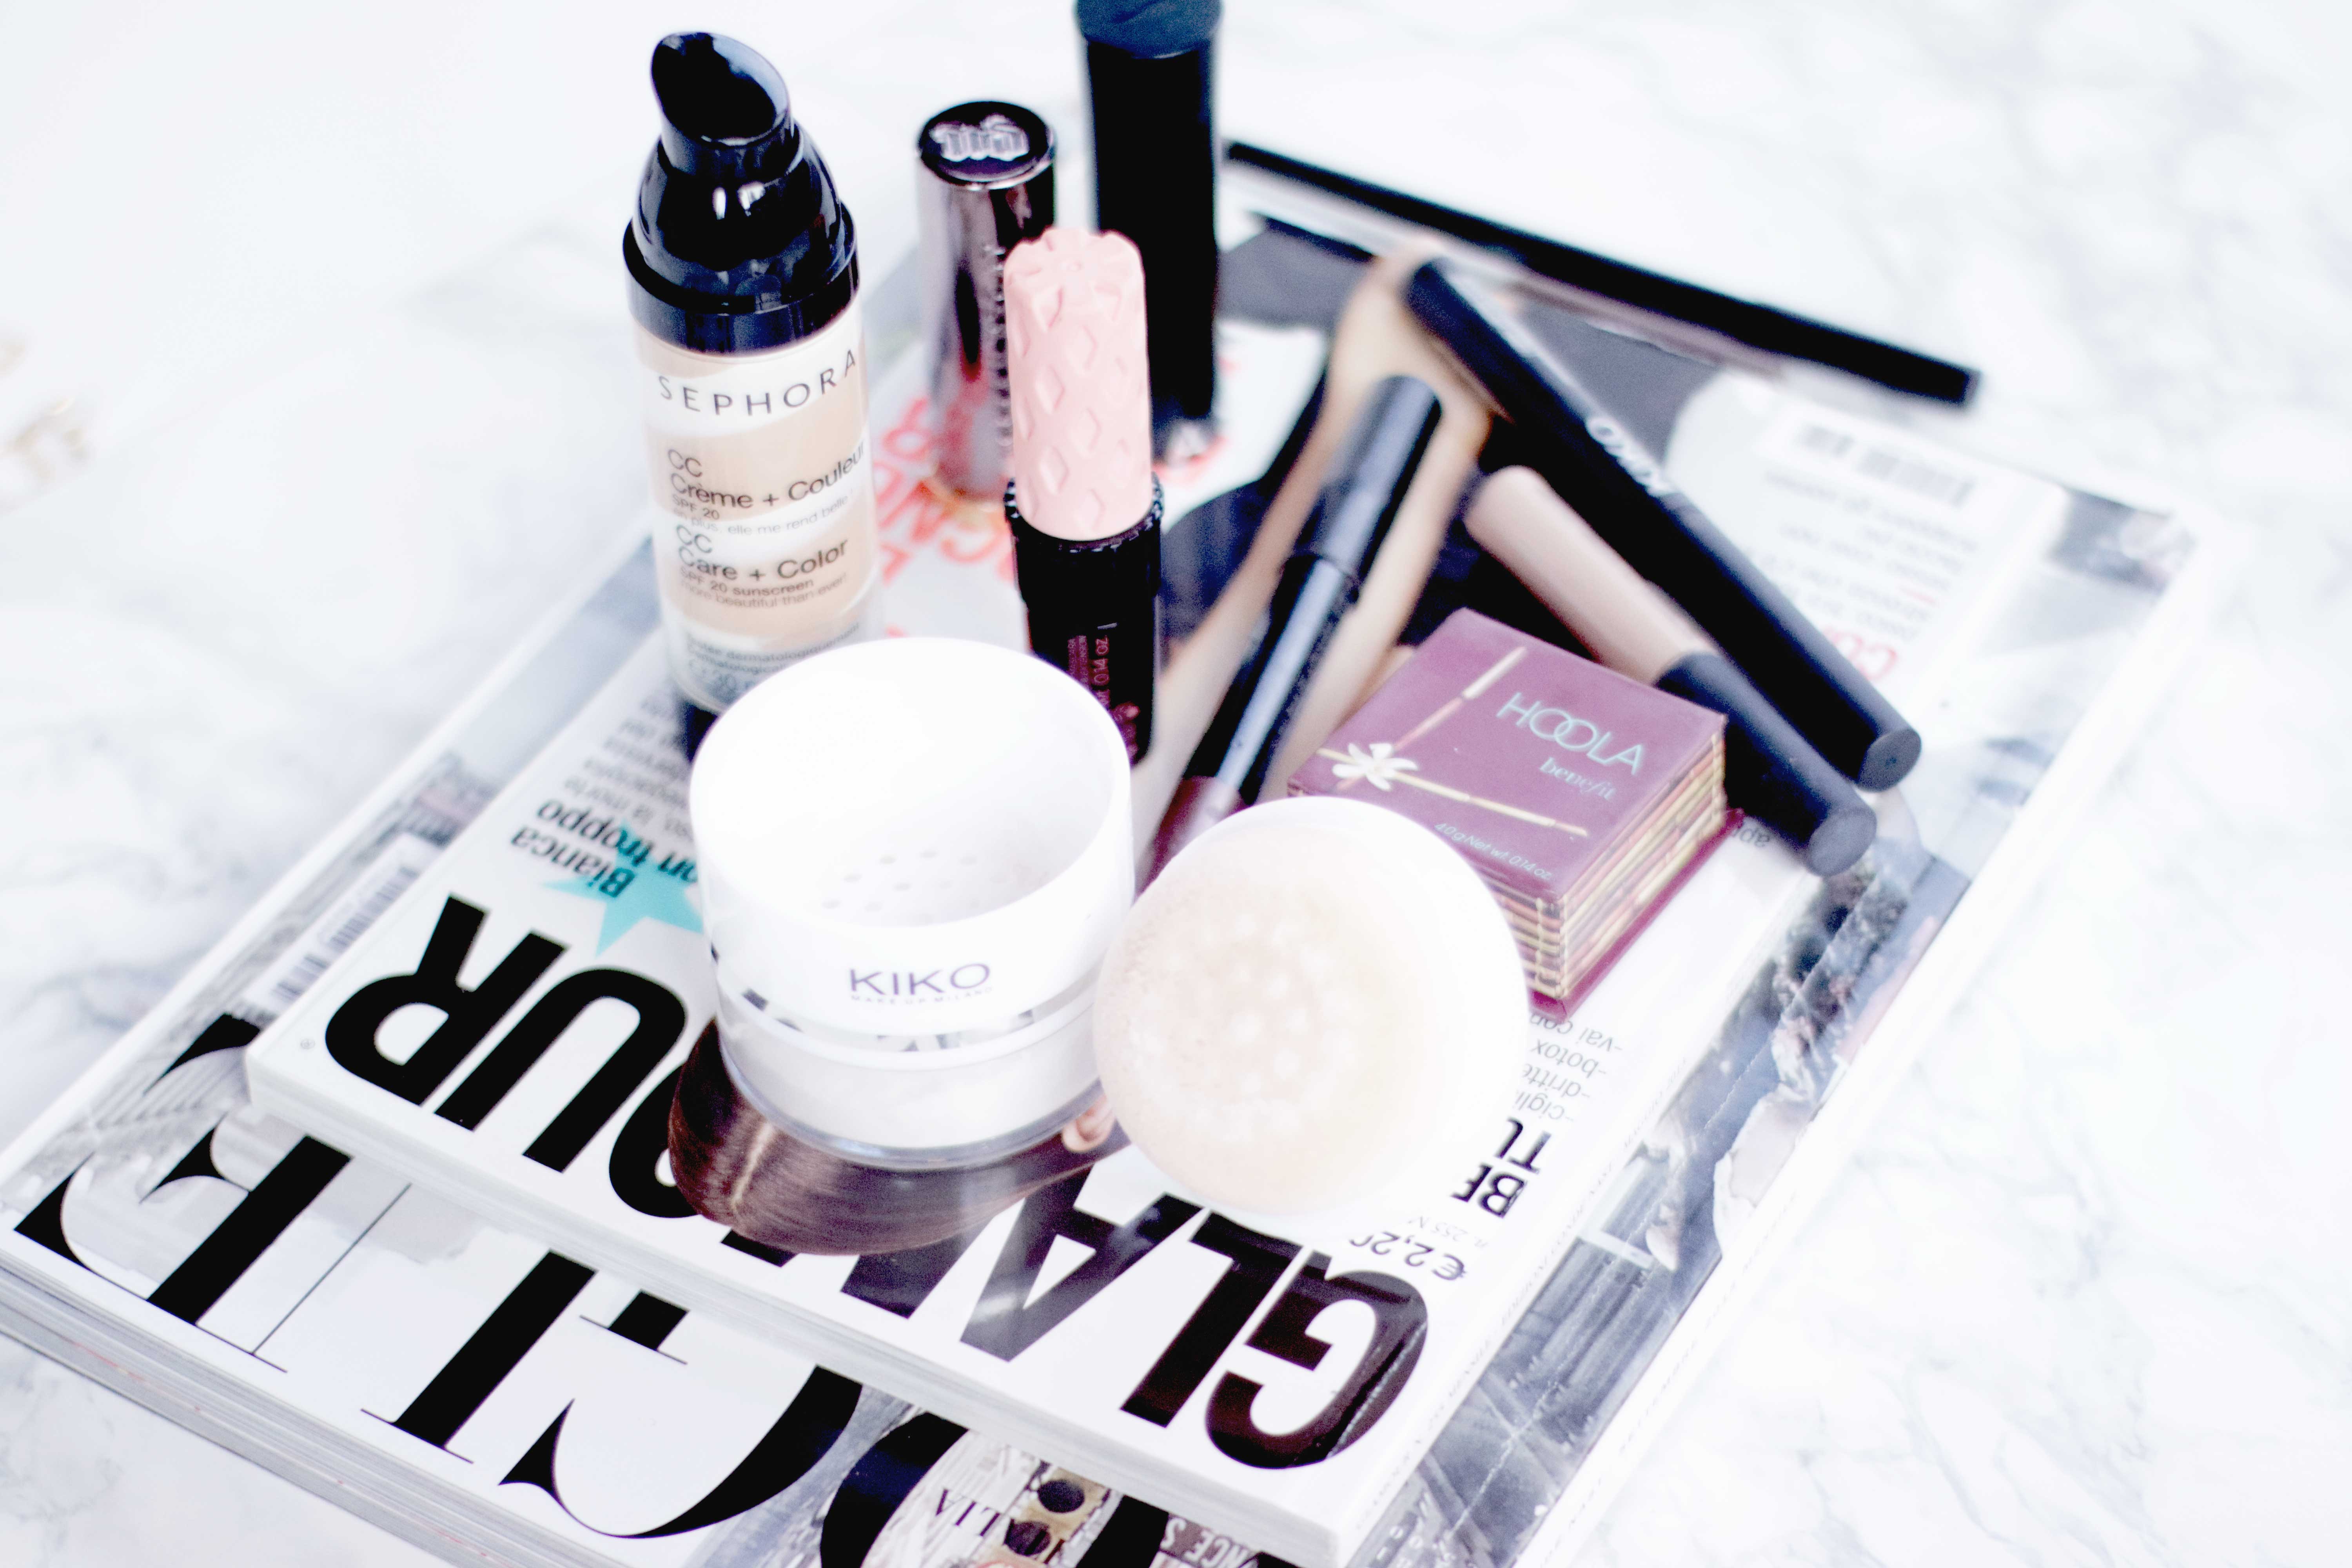
To get bright pictures (especially when shooting indoors) you need a good lens and to set your camera options. When you see that bright beautiful white photos the lens use is something like this one 50mm f/1.8 . This is the lens that I personally use because it can pass through more light.
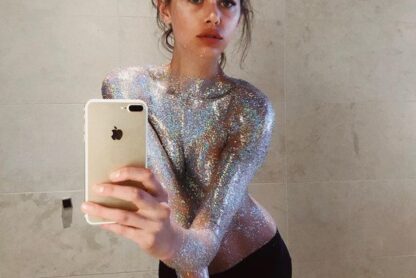
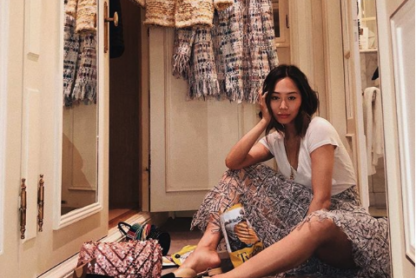
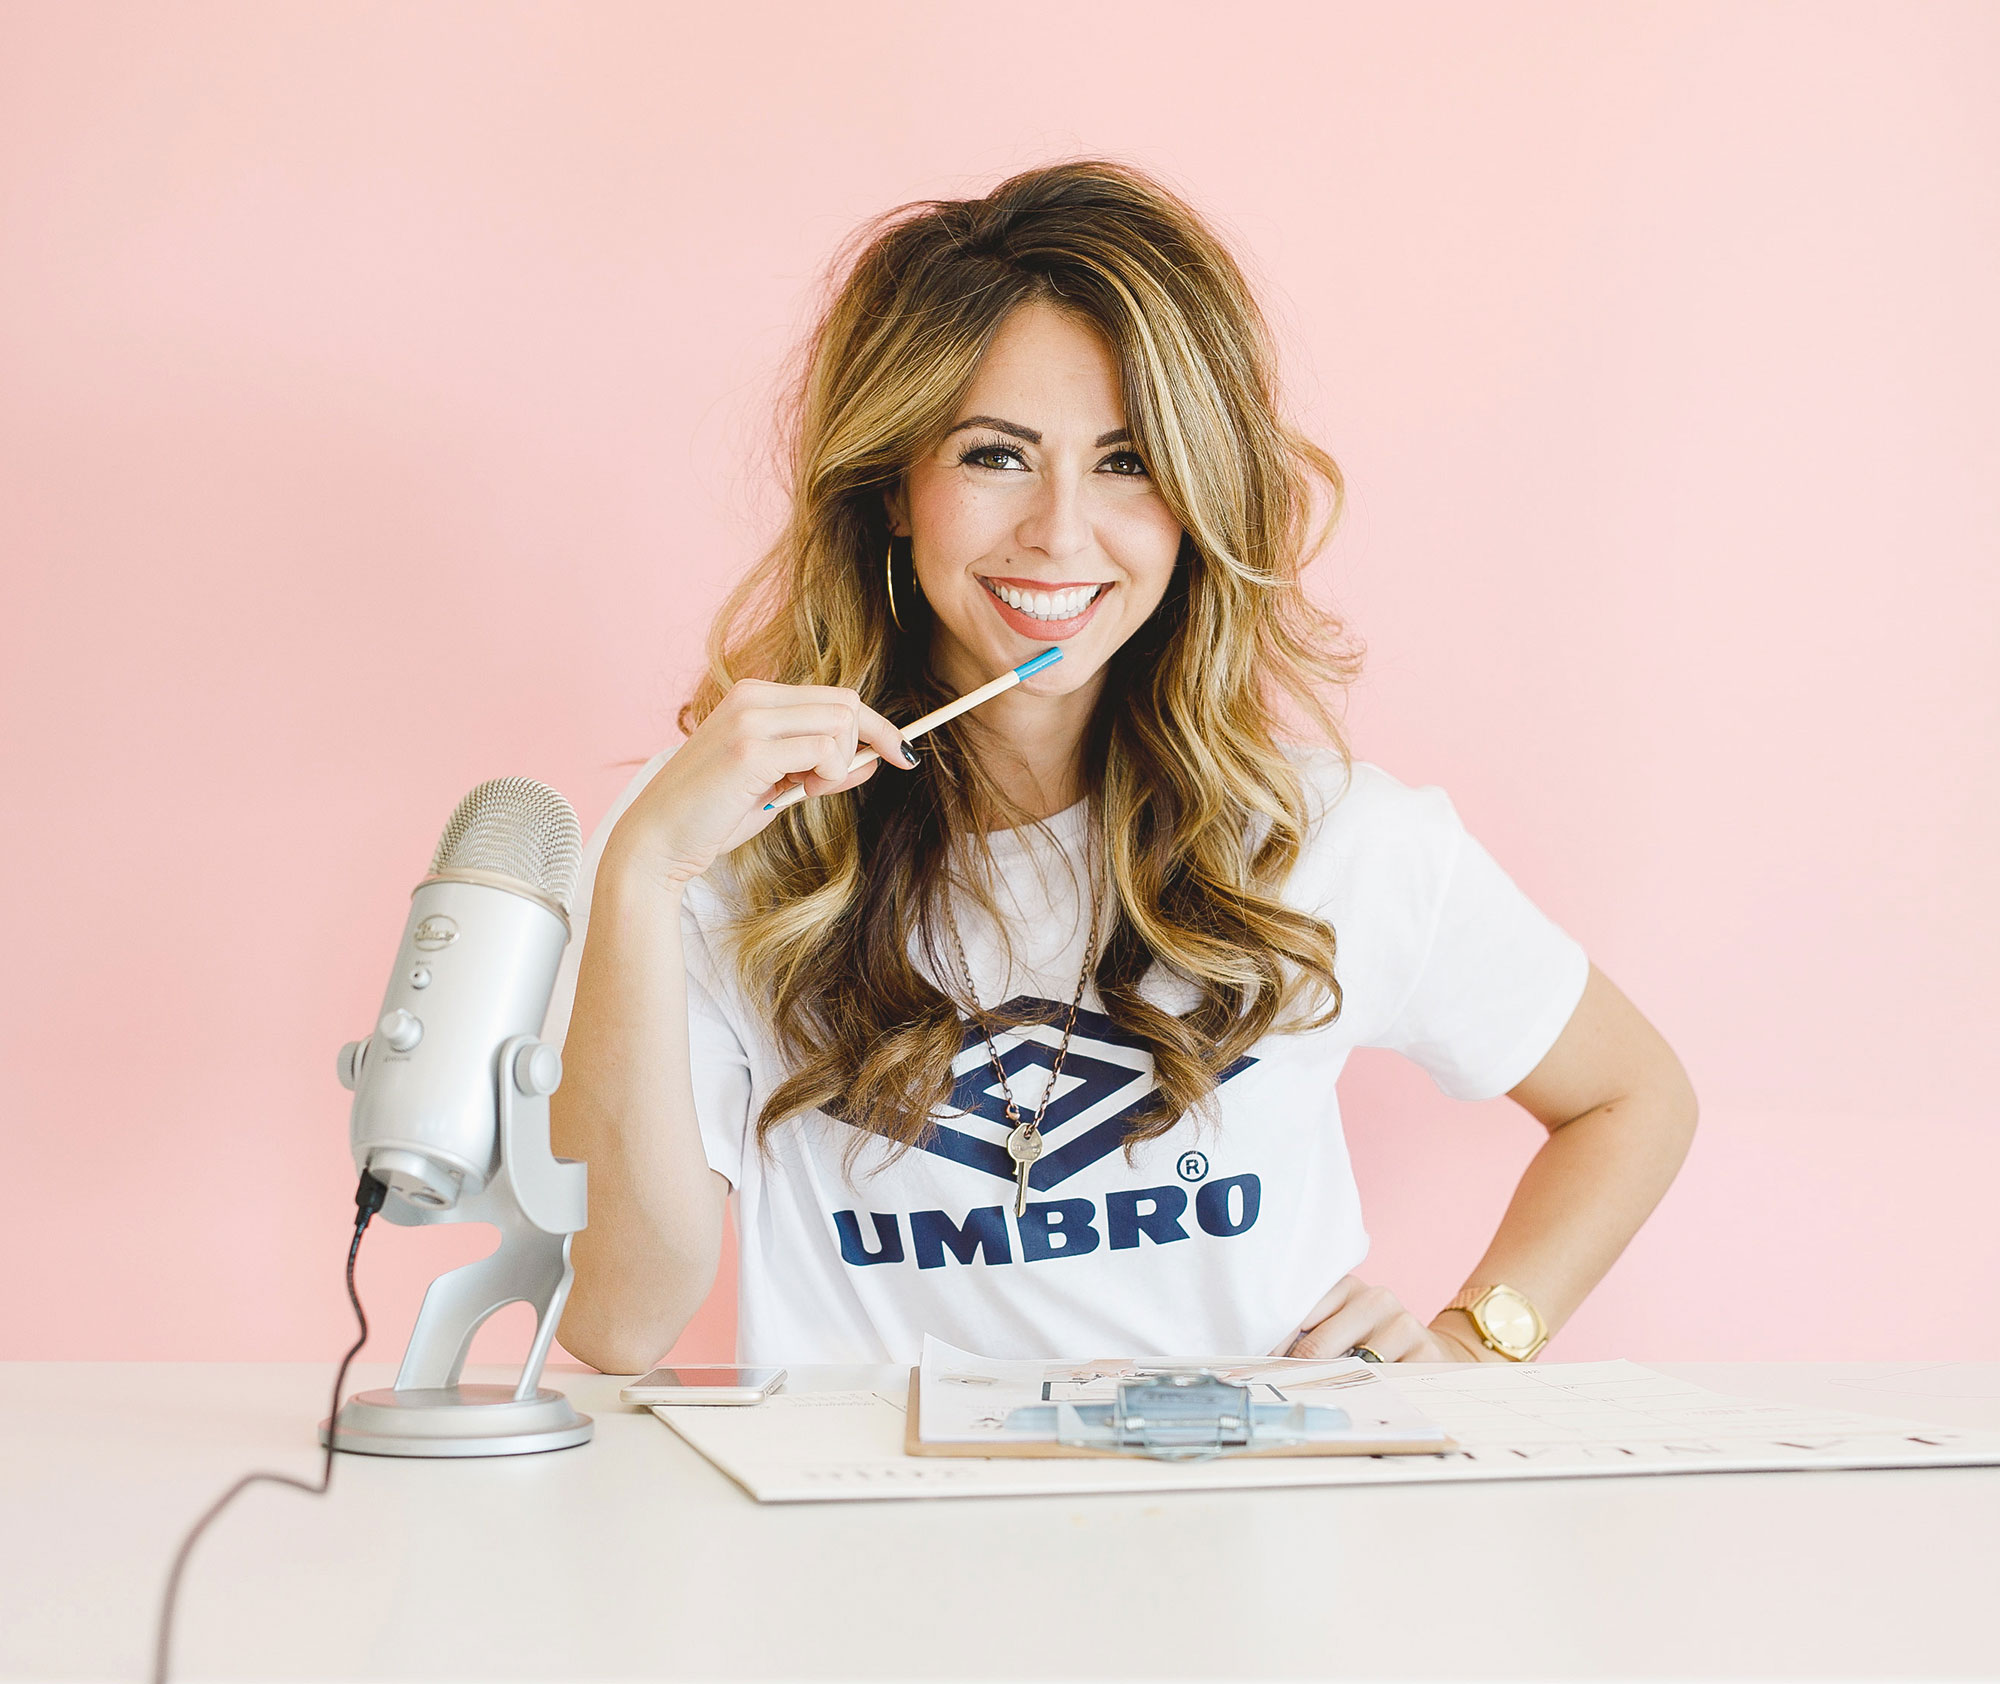
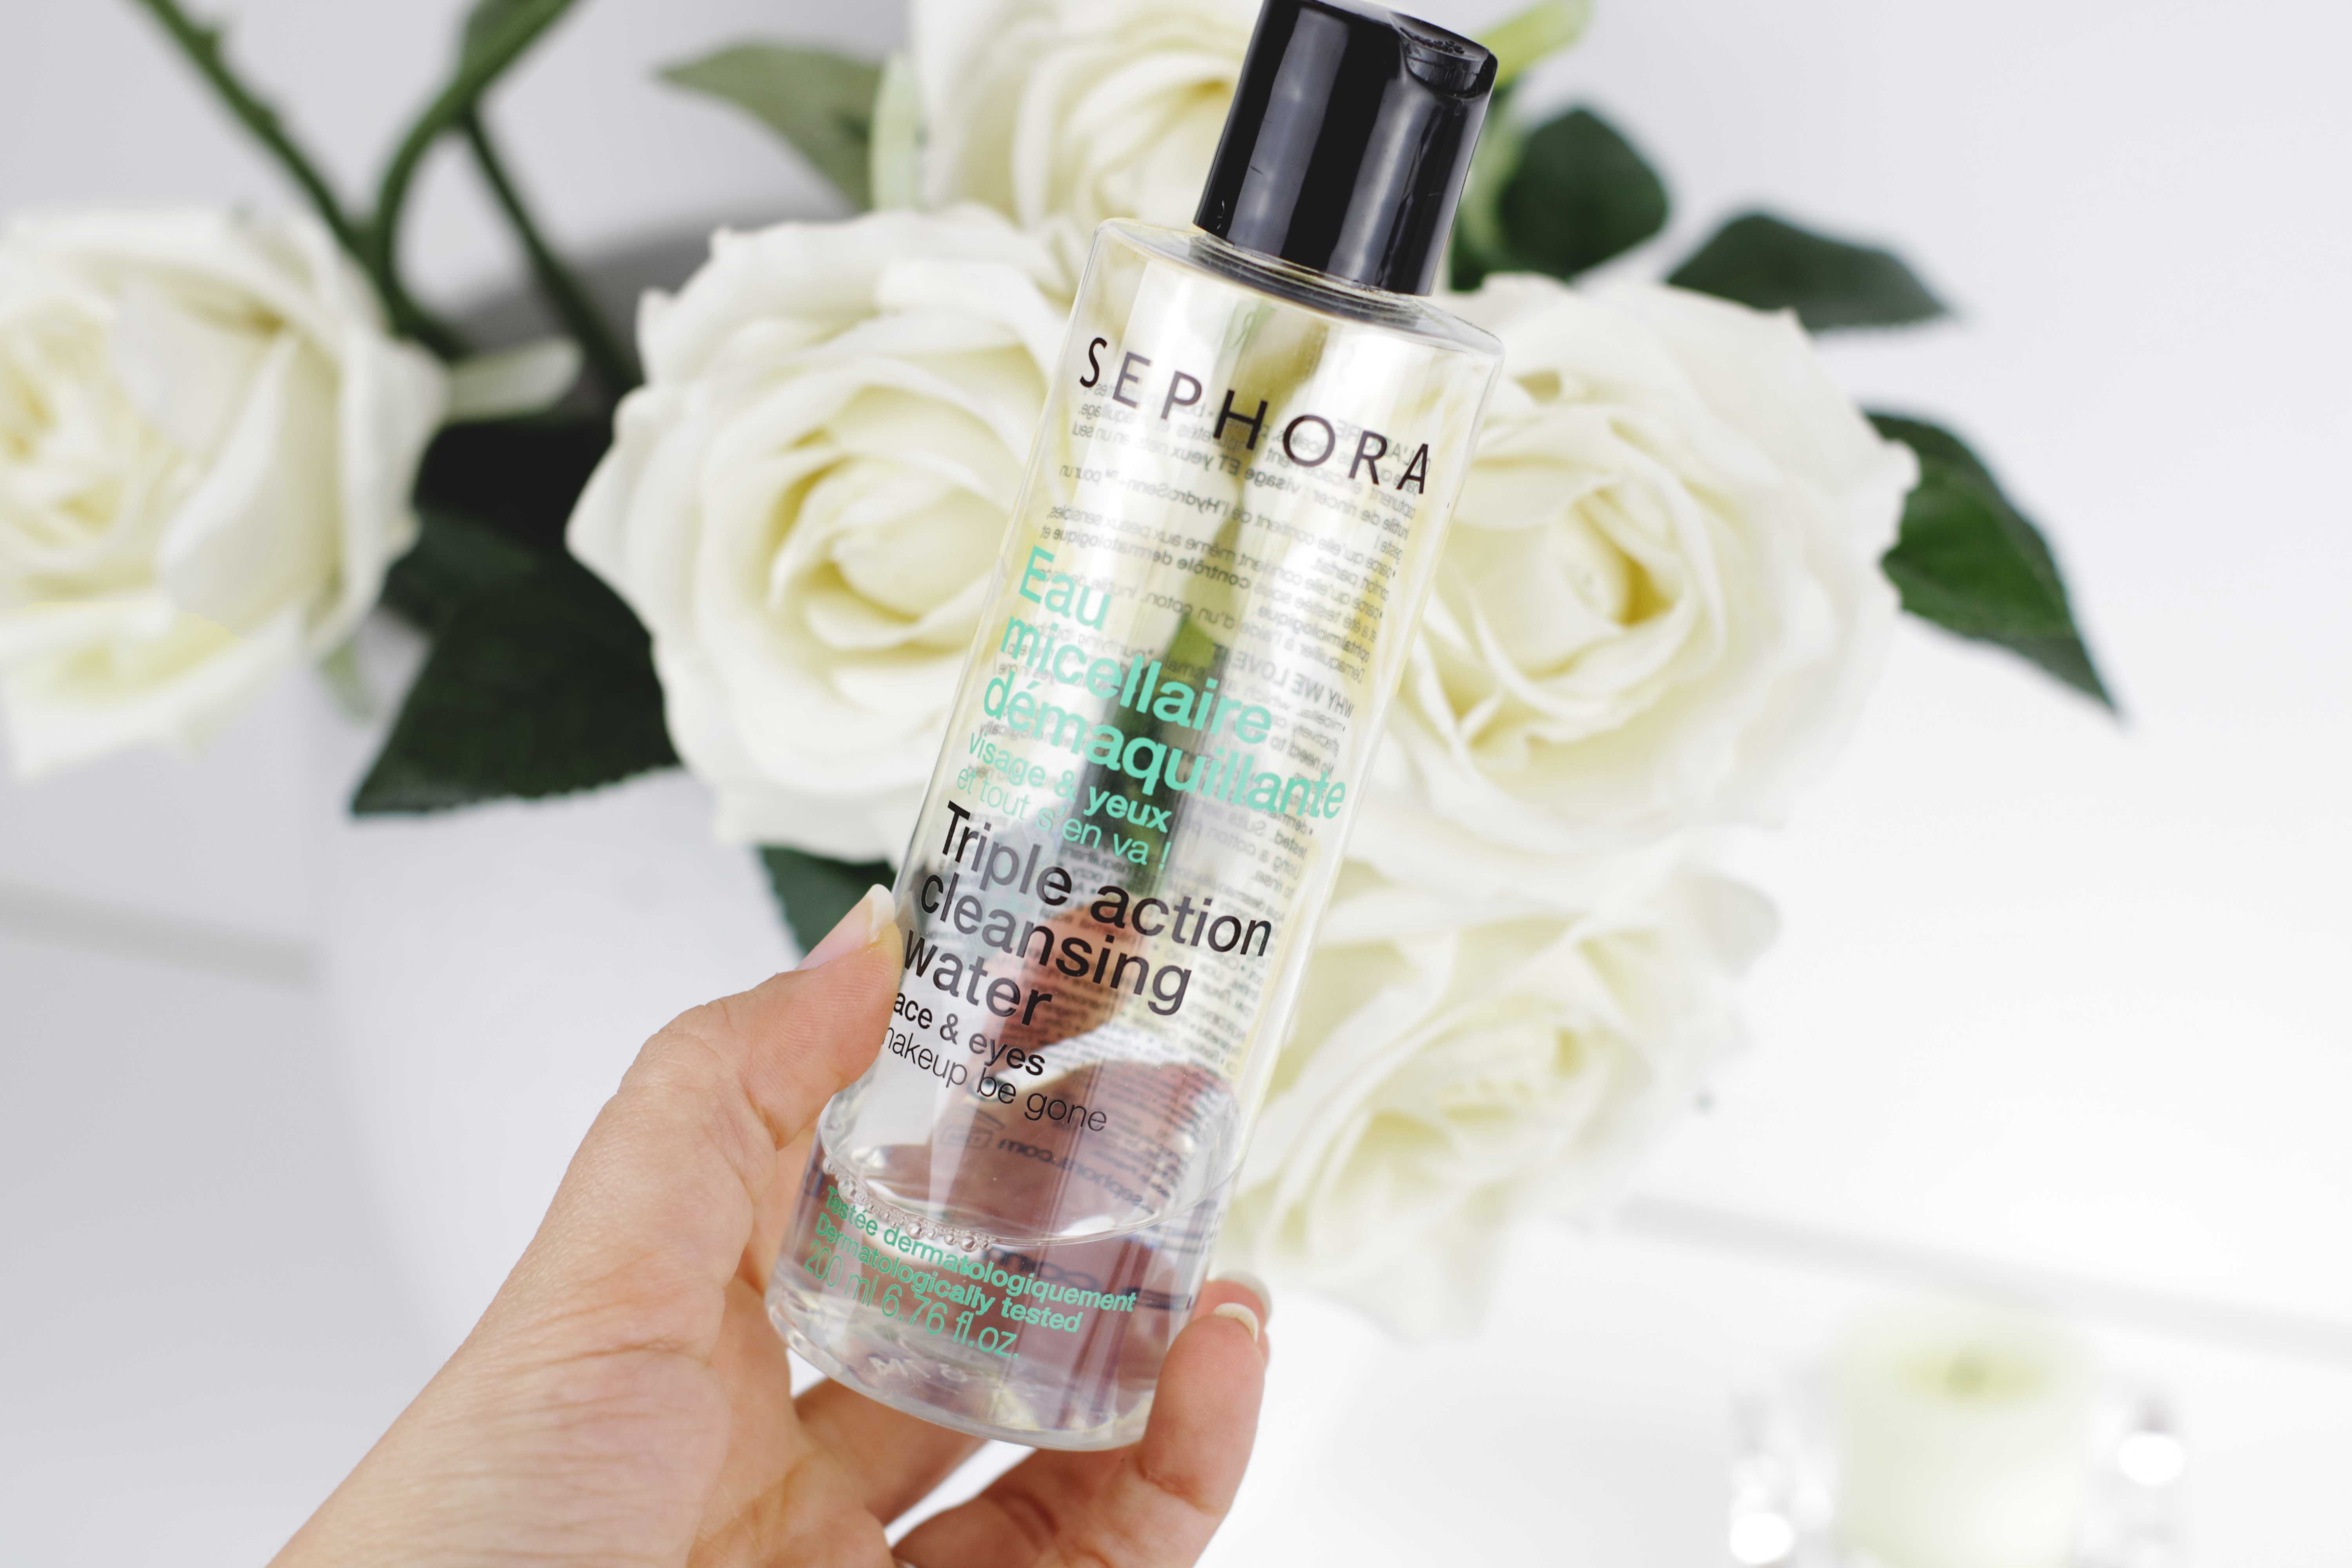
I shoot the photos below at night using the Softboxes and my 50mm f/1.8 lens
After that you have the lens it’s necessary to set the right settings on your camera:
- Aperture → the lower is this value the more light will come in and the photos will be brighter. You need to set this around f2.0 and you can modify it according to your light situation: if you are shooting where there is no light you may want to put this value as its lowest, if you are shooting when the sun is shining you can raise this value
- ISO value → the higher ISO value the brighter will be your photos. Please be careful when raising this value because a high ISO value could reduce the wuality of the photo, in fact it could appear grainy
- Shutter speed → lowering the shutter speed will let you get brighther images
I really suggest you to take more than a photo when shooting and at the beginning, you can play with the settings and shoot trying different camera settings, I suggest to take notes of what settings are you using so when you’ll see your photos at the PC you can choose which photo you like the most so what are the best settings.
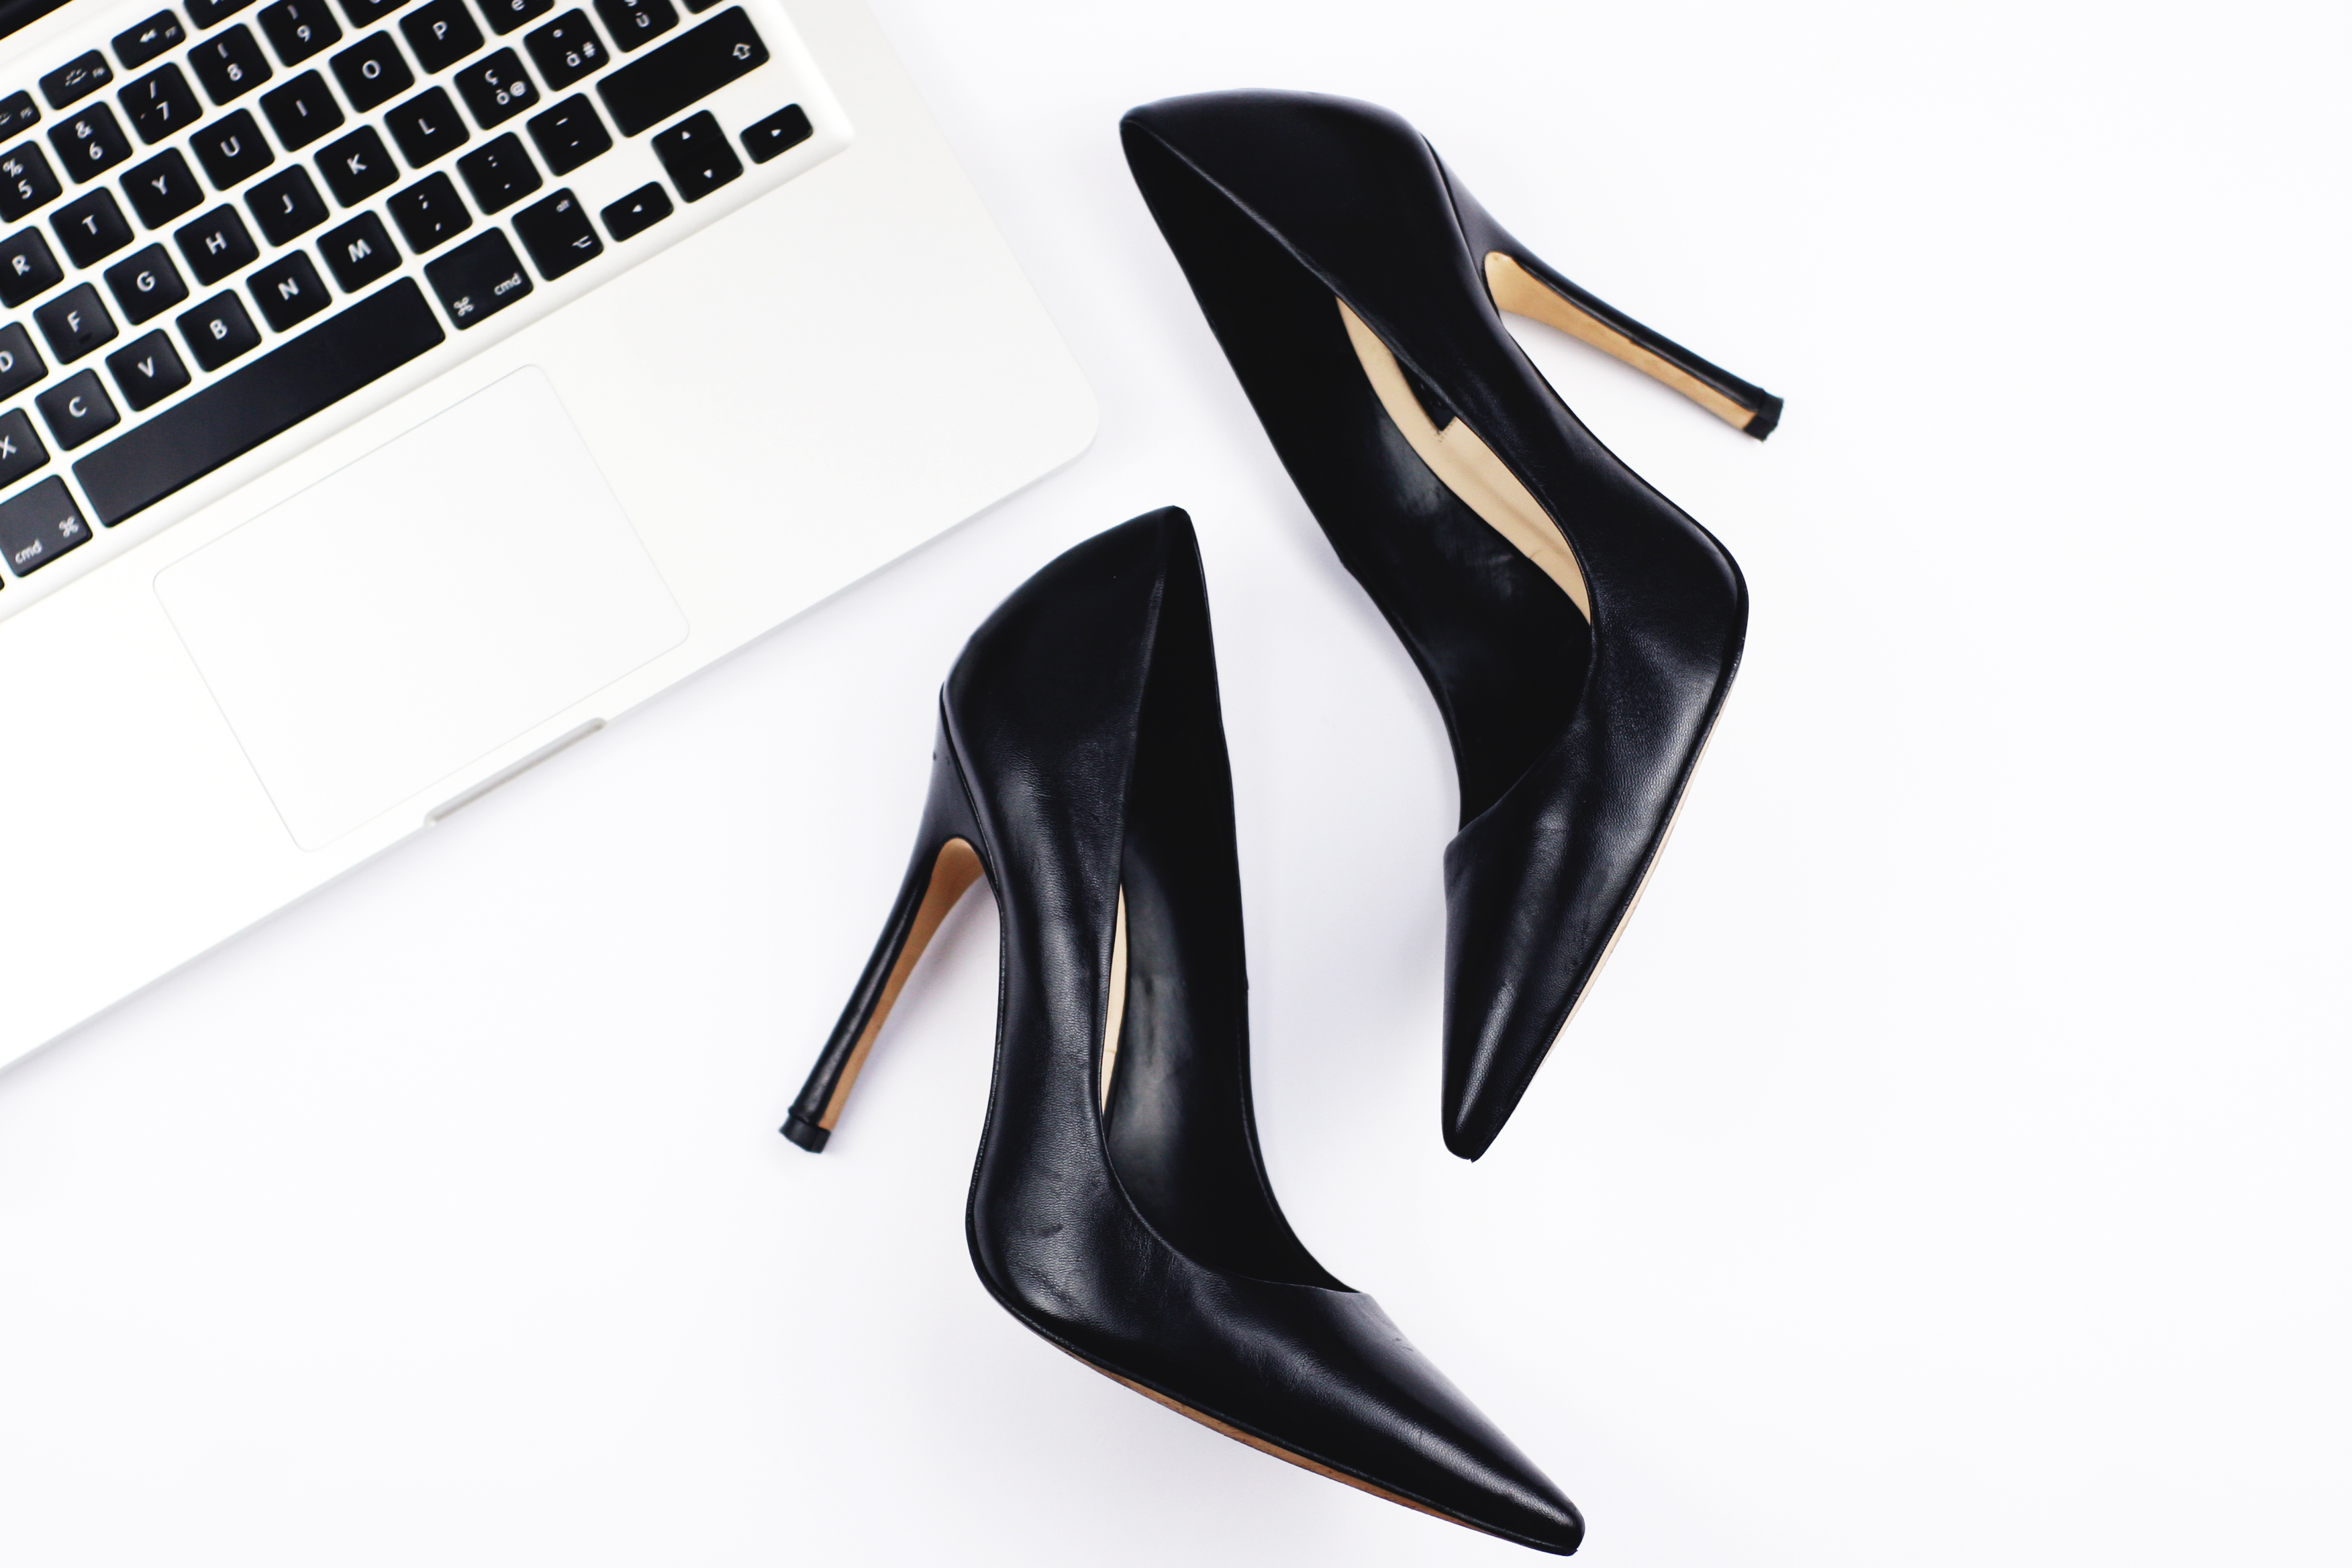
After taking photos there is another fundamental step : editing.
If you take a great bright pic the editing won’t last longer. When editing pics I use Photoshop.
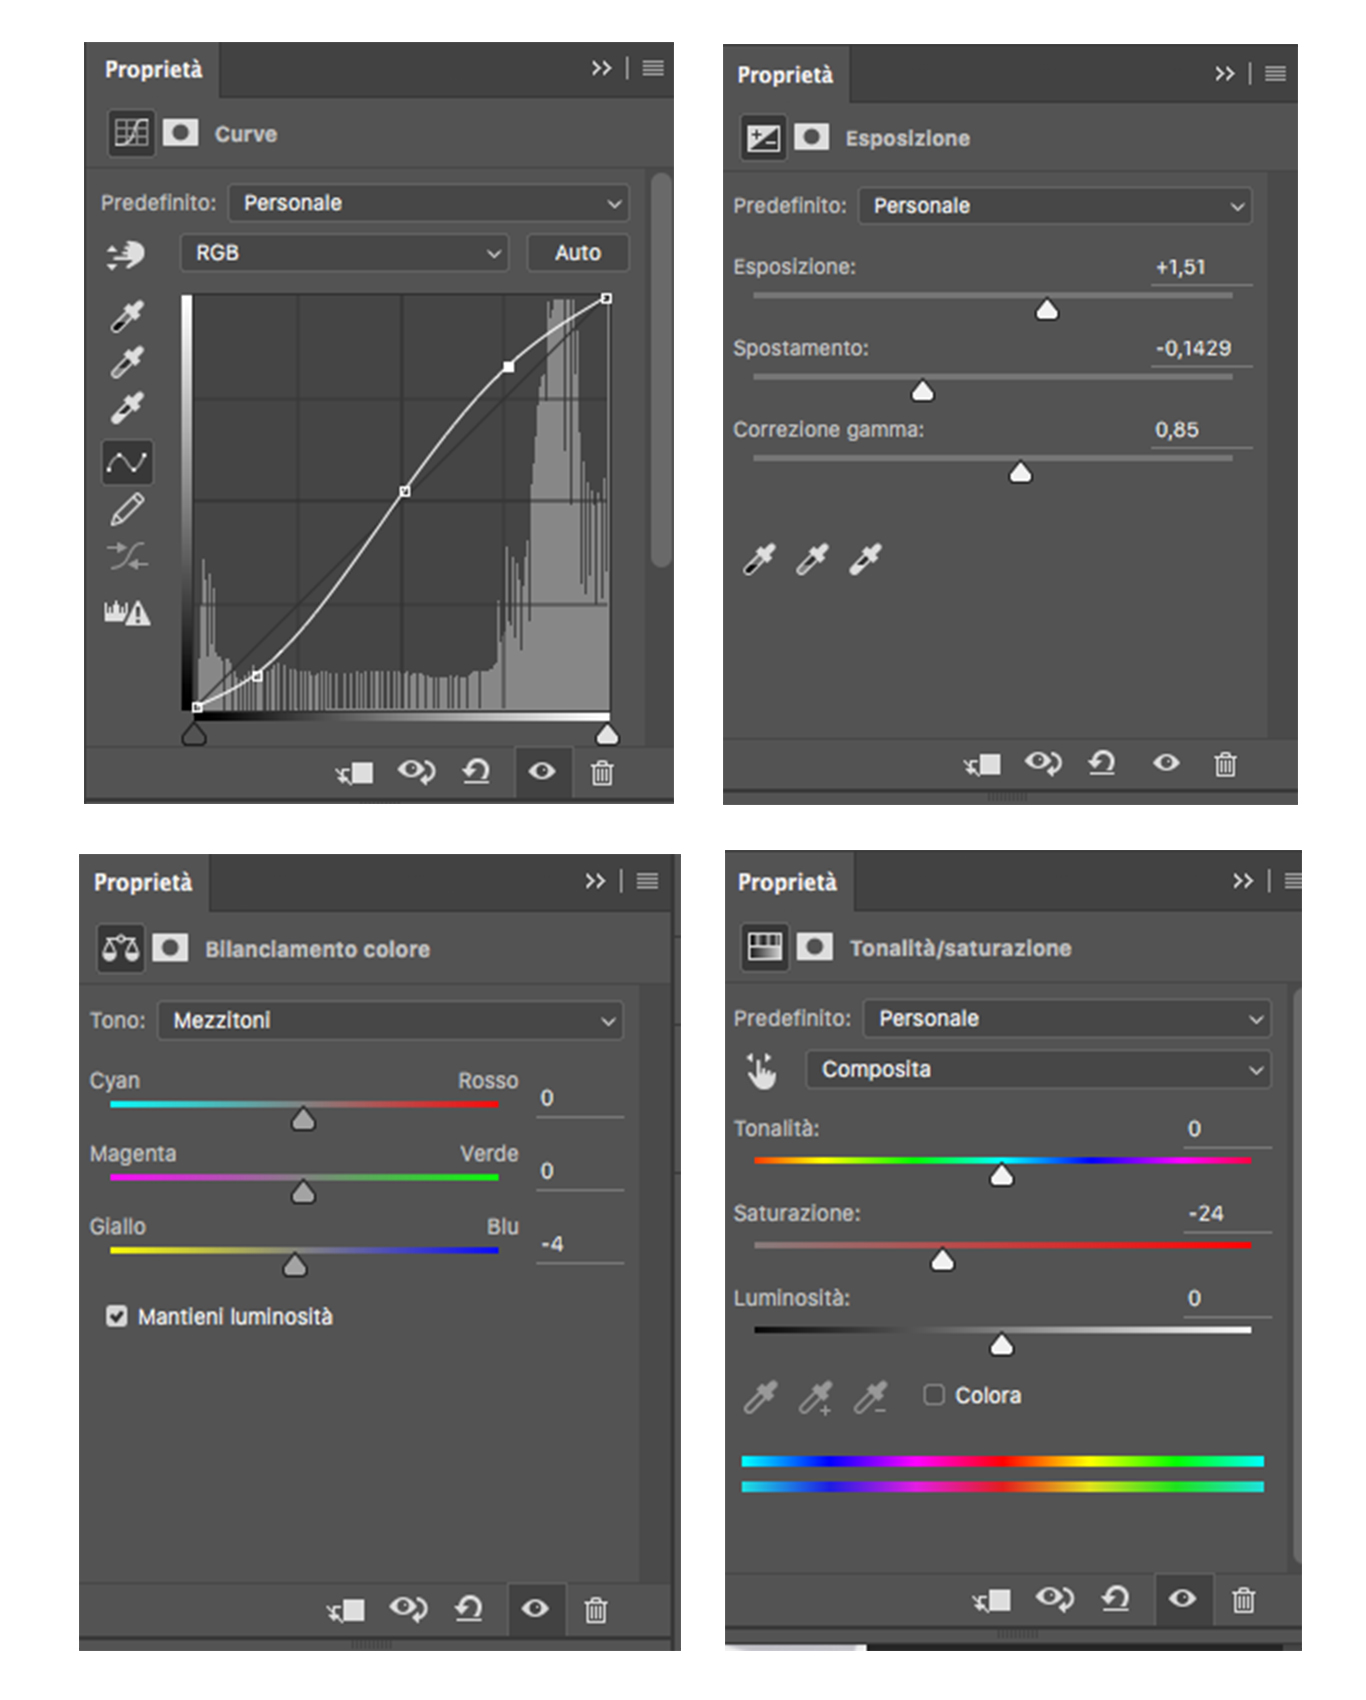
There are few options that I use when editing pictures :
- curves
- exposure
- contrast
- saturation
- colors
I do truly suggest you to play with Photoshop and find the best options and the result that you prefer. You may want a warmer photo, more contrast, less saturation or whatever , just ,like I did and I still do while editing photos, play with these settings and you will see the difference.
These are the settings that I played with when editing the photo to get the final result that you see from the first picture (before and after)